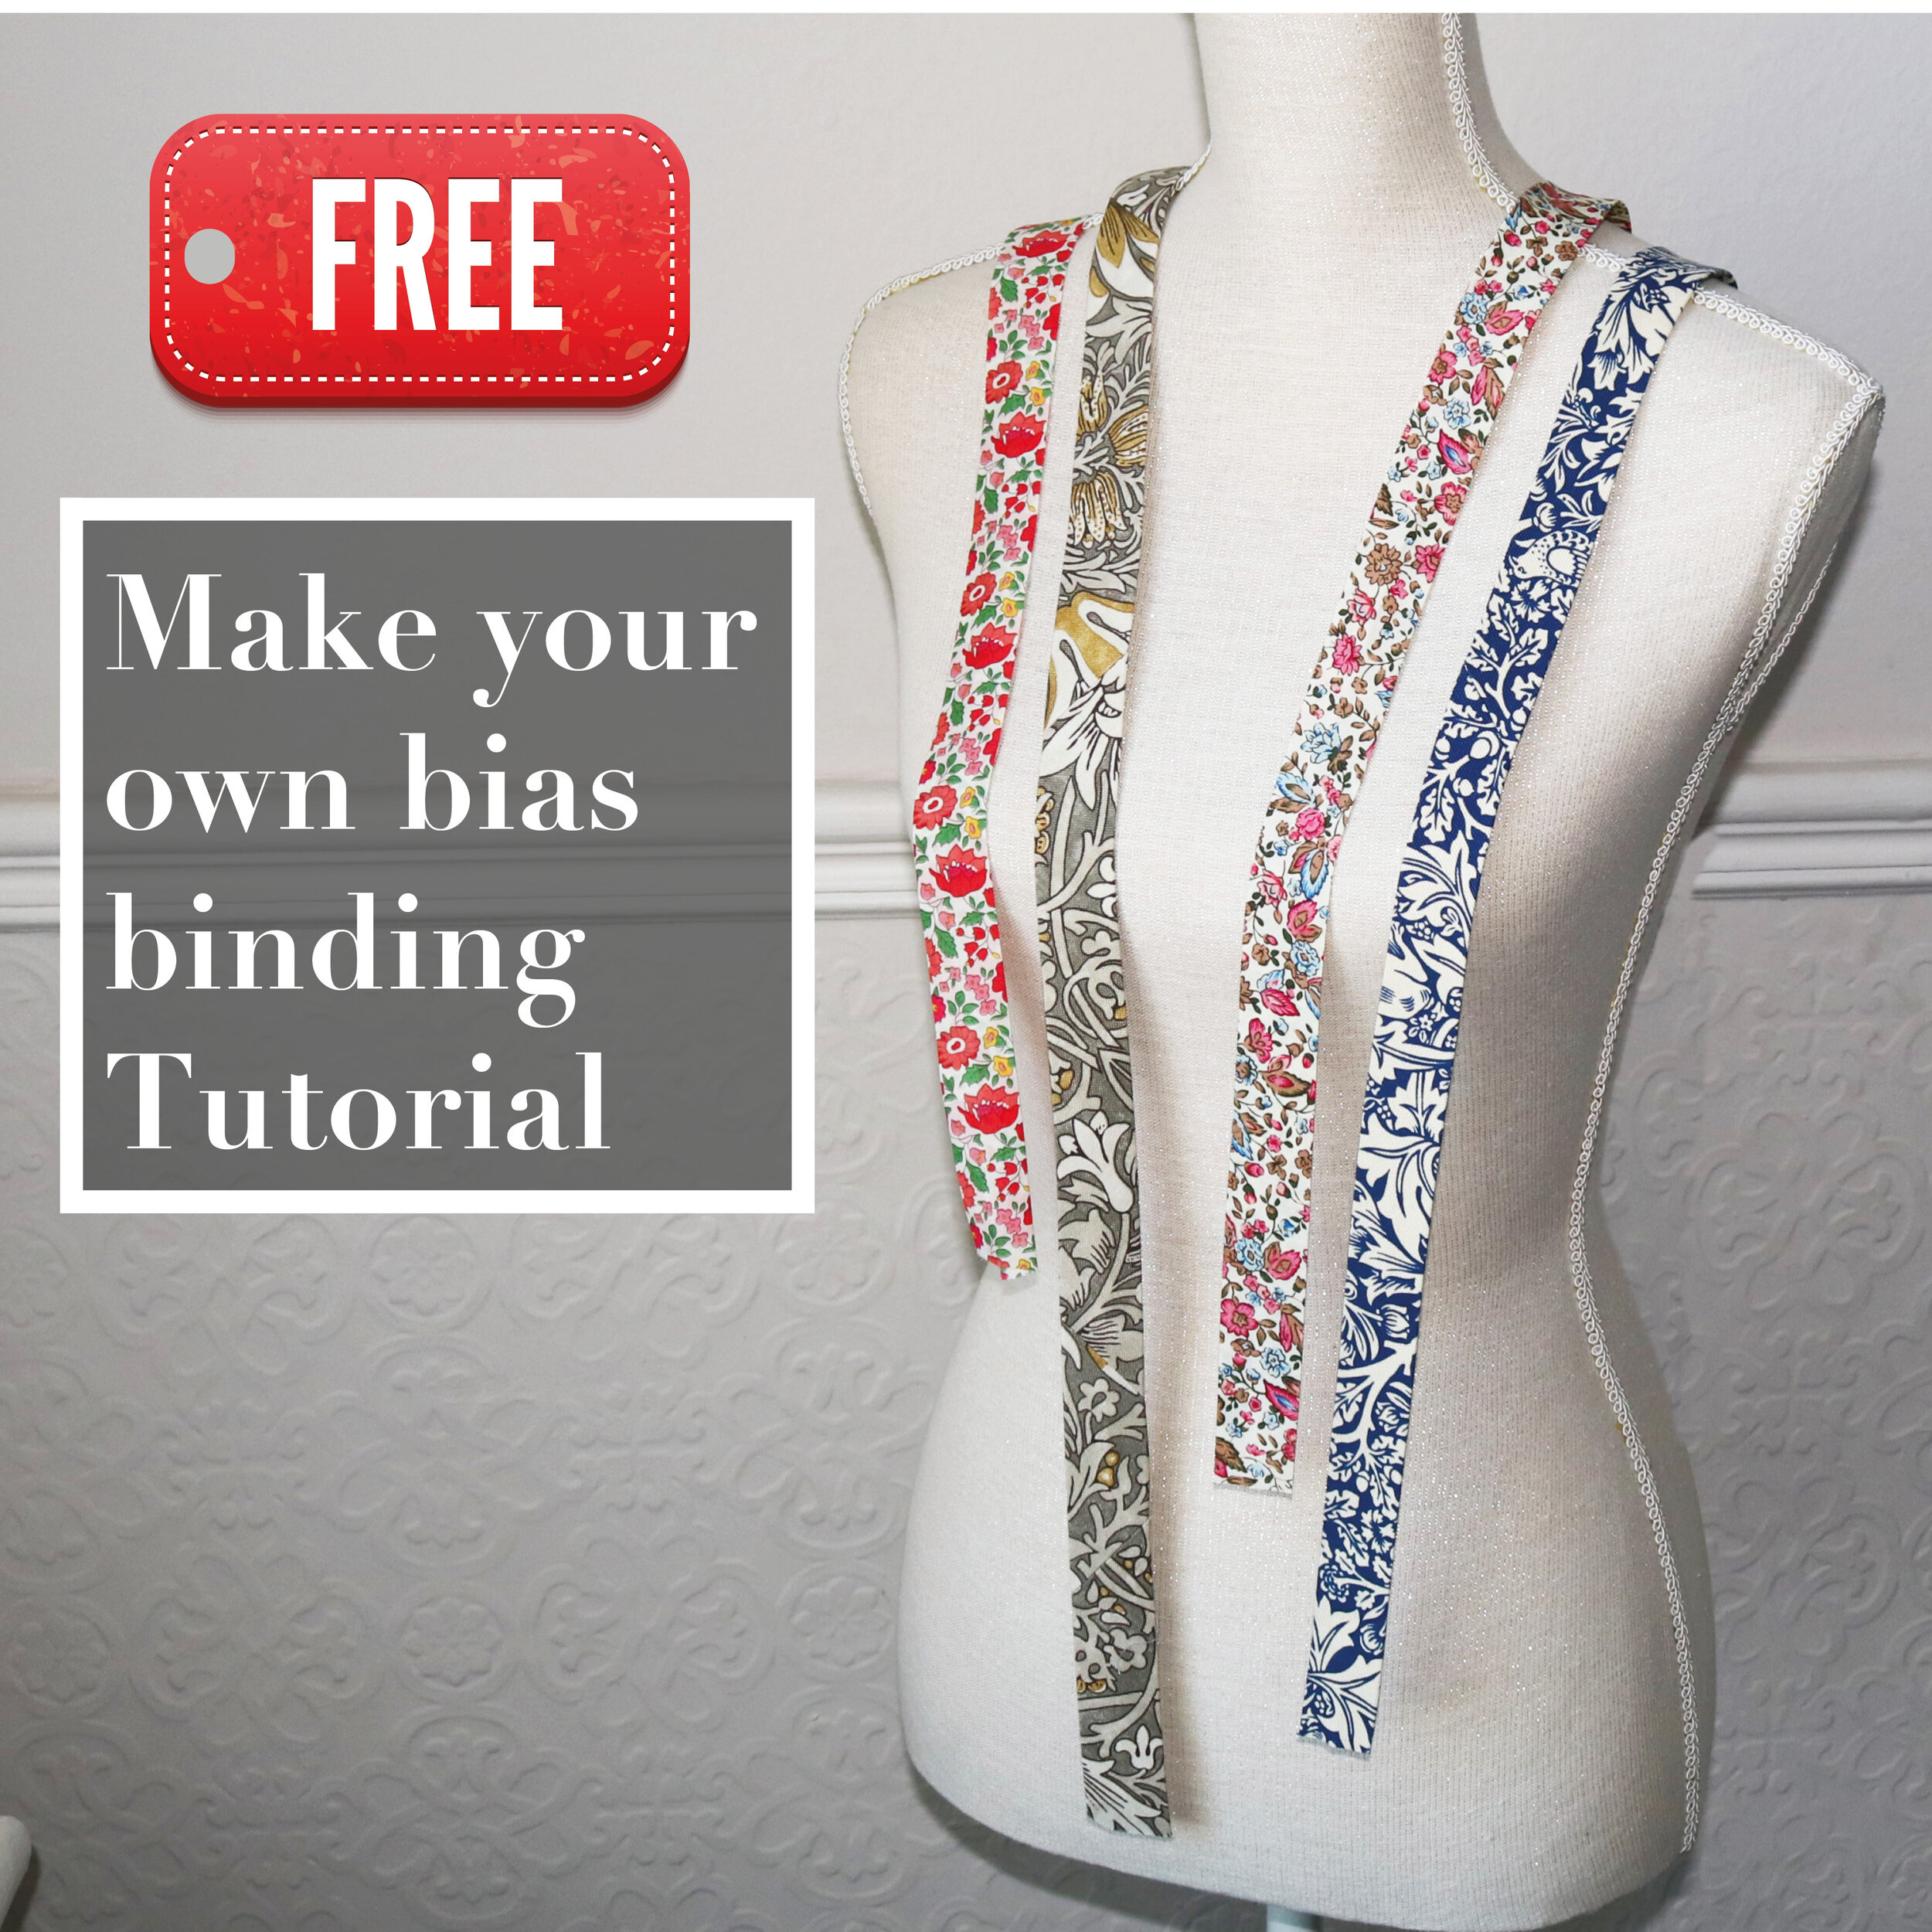

This tutorial shows you how to make your own bias binding so you can match the binding to your fabric or make a feature of it in a fabric of your choice (we love making Liberty binding).
Bias binding is most often used to finish seams, usually necklines, armholes and hems.
It can also be used for button loops, drawstrings and decorative effects.
Single-fold bias binding has two folds and double-fold has three.

Single-fold bias binding
Single-fold bias binding is usually used as a narrow facing which is turned to, and only visible on, the inside of the garment.

Double-fold bias binding
Double-fold bias binding is usually used to bind an edge and is visible from the outside of the garment.

Step 1 - Find the bias in your fabric
This is the stretchiest part of the fabric and it is a 45 degree angle to the selvedge. Fold over the end of your fabric to form a triangle (two shorter sides same length). If you cut at this angle, it will be 45 degrees.

If you do not have a visible selvedge you can pull the fabric gently and it should be fairly obvious which angle of fabric has the most stretch.

Step 2 - Cut the strips
Cut the strips along the 45 degree bias.
The width is double the intended bias binding width. So, for 1" (2.5cm) wide bias binding you need to cut strips that are 2" (5cm) wide.


Step 3 - Join the Strips
Take two strips with ends pointing in the same direction. Put right sides together and sew together as shown below. The seam allowance will be about 1/4" (0.6cm). Join strips until you have the required length.

Step 4 - Press and trim
Press open all joins and trim seams.

Step 5 - Fold the strip
You can do this in one of two ways:
A. using a bias binding maker tool; or
B. manually.

A. Bias Binding Maker Tool
You can buy a maker tool online and they come in various sizes depending on the size of width of binding you are making.
Feed the fabric through the tool and press the folded fabric as it comes out the other end.

B. Manually
Fold your strip of fabric in half and press, then open back out and fold each side in so that it meets the half-way line and press.

Step 6 - Single-fold v Double-fold bias binding
Single-fold is now done.
If you want to make double-fold bias binding (where bias binding is used in our patterns, it is mostly double-fold so you see the binding from the right side of the garment) then you fold the binding in half and press as shown in the photo above.
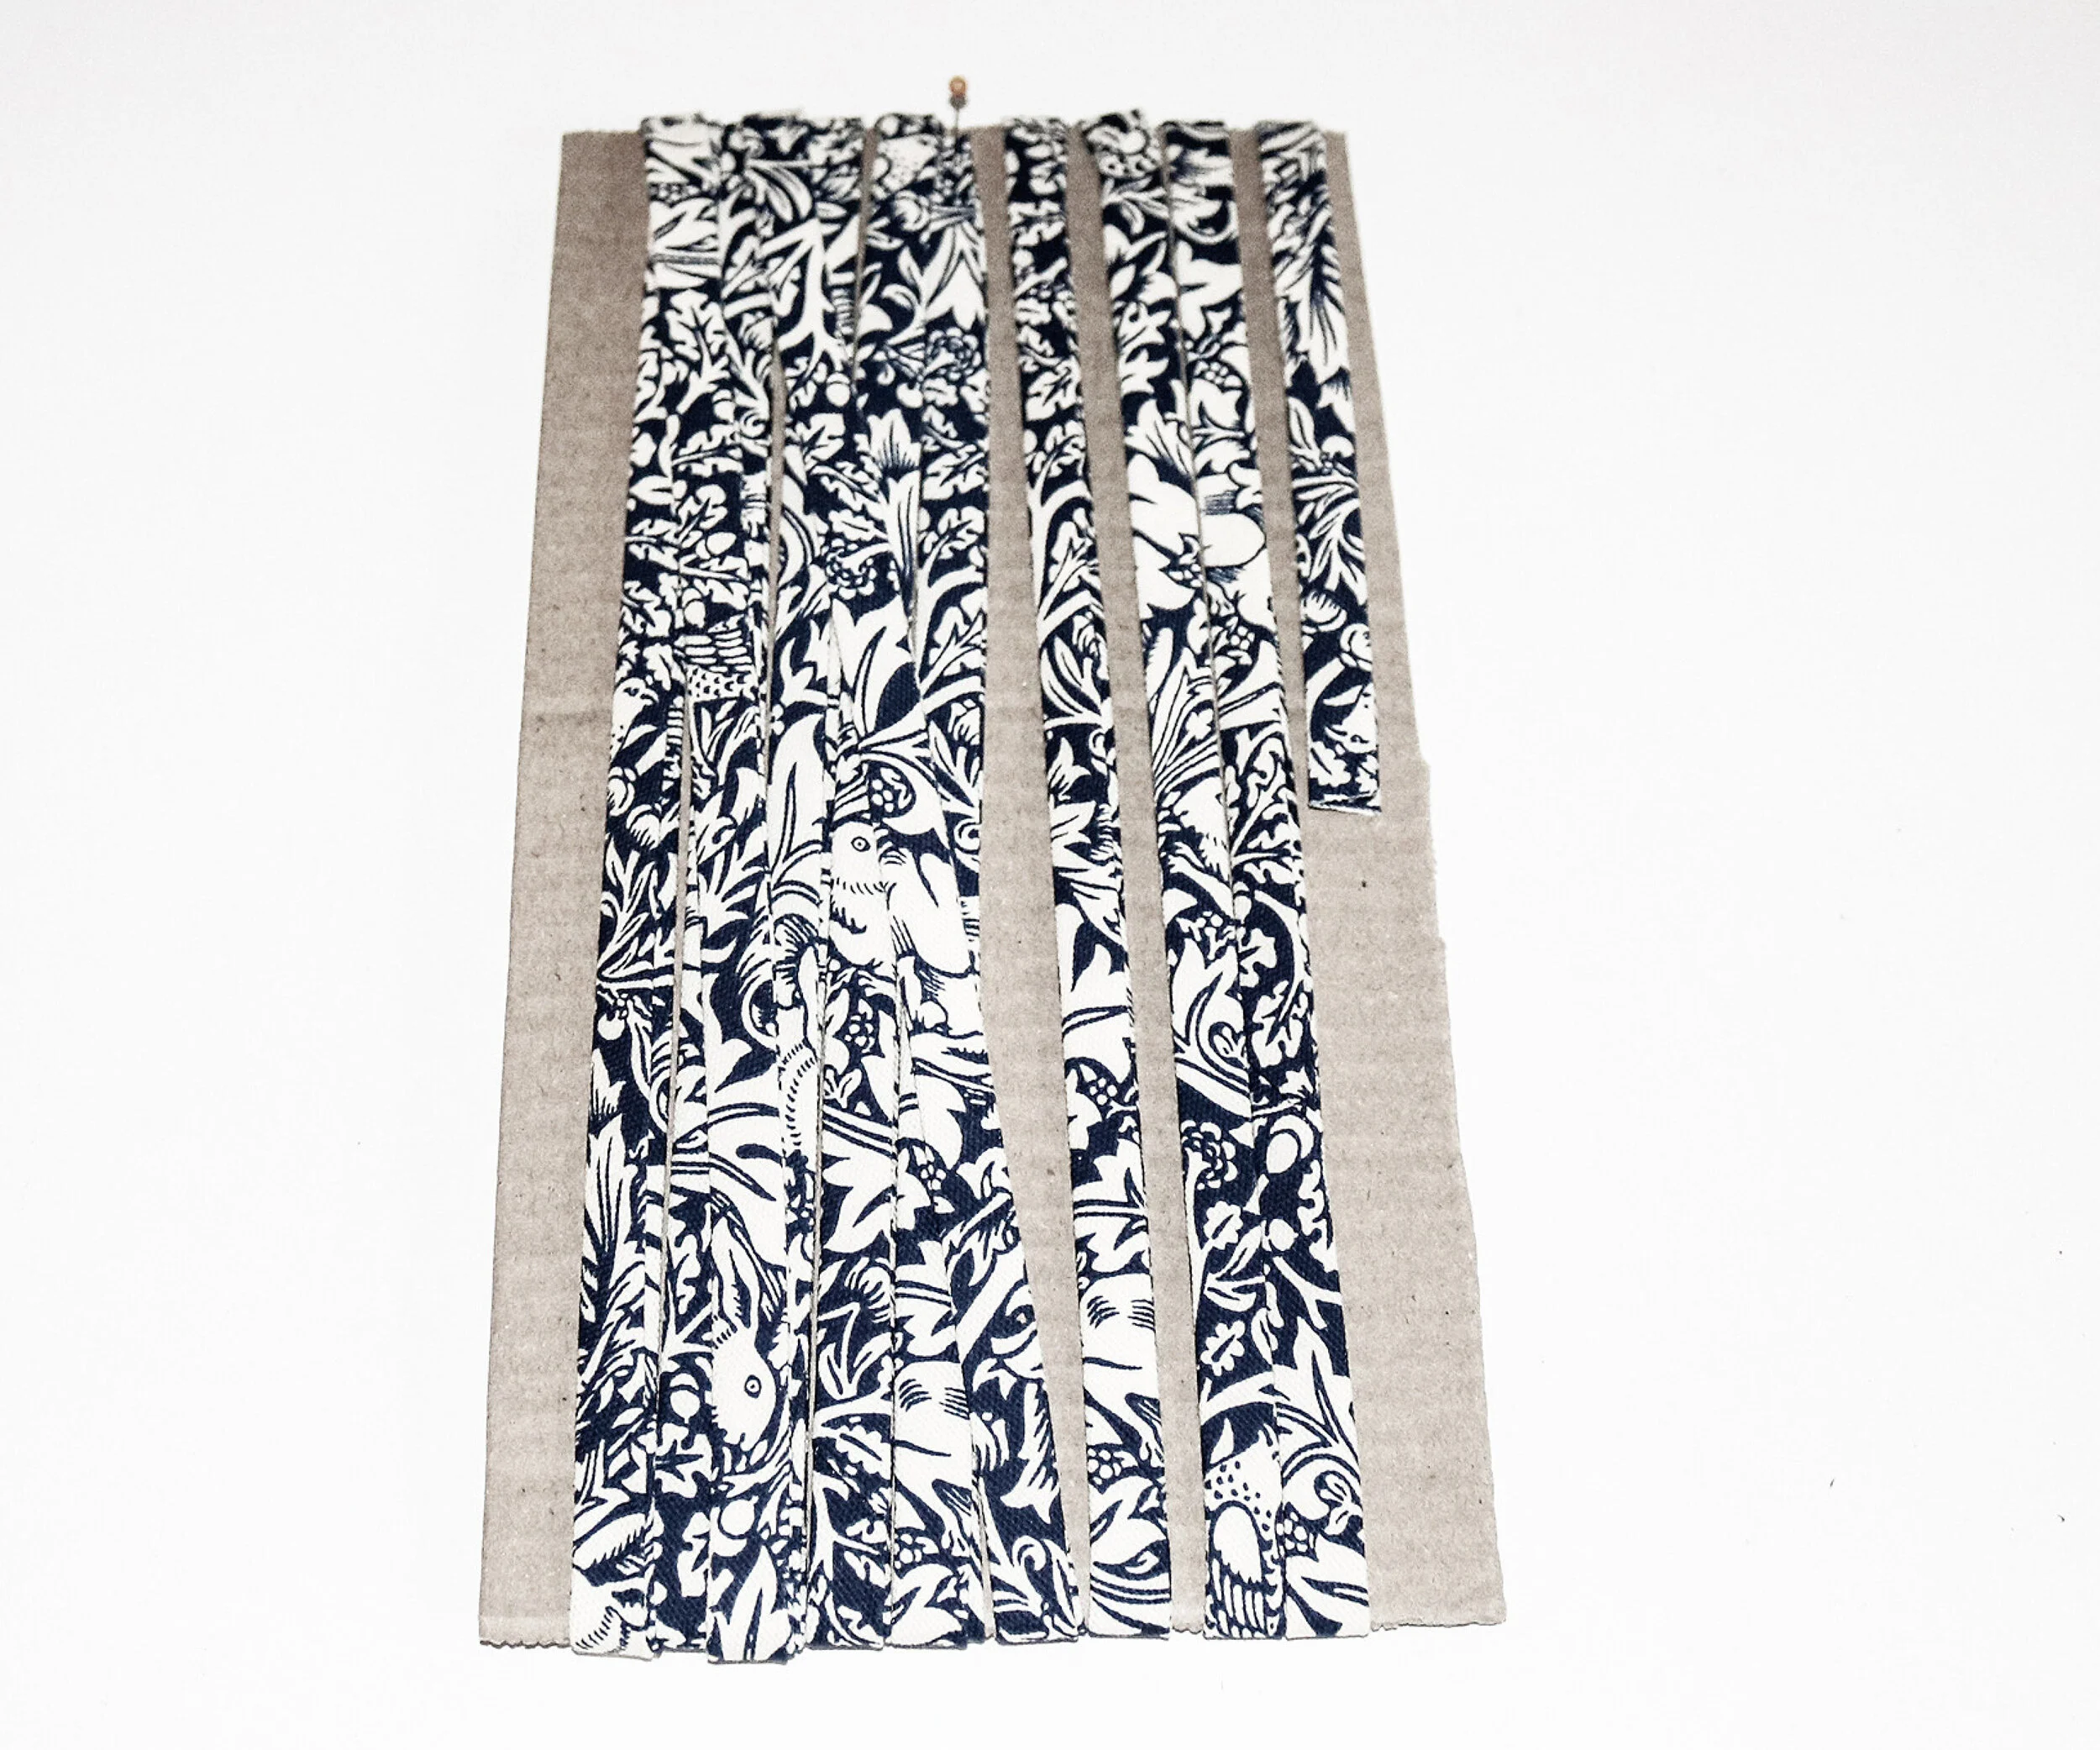
It can be useful to store extra bias binding wrapped around cardboard to help keep it in shape.